How to Sew A Fancy Band
FANCY THAT!
Fancy bands
embellish dress hems and can be
used to extend
the wear of an out-grown dress.
For
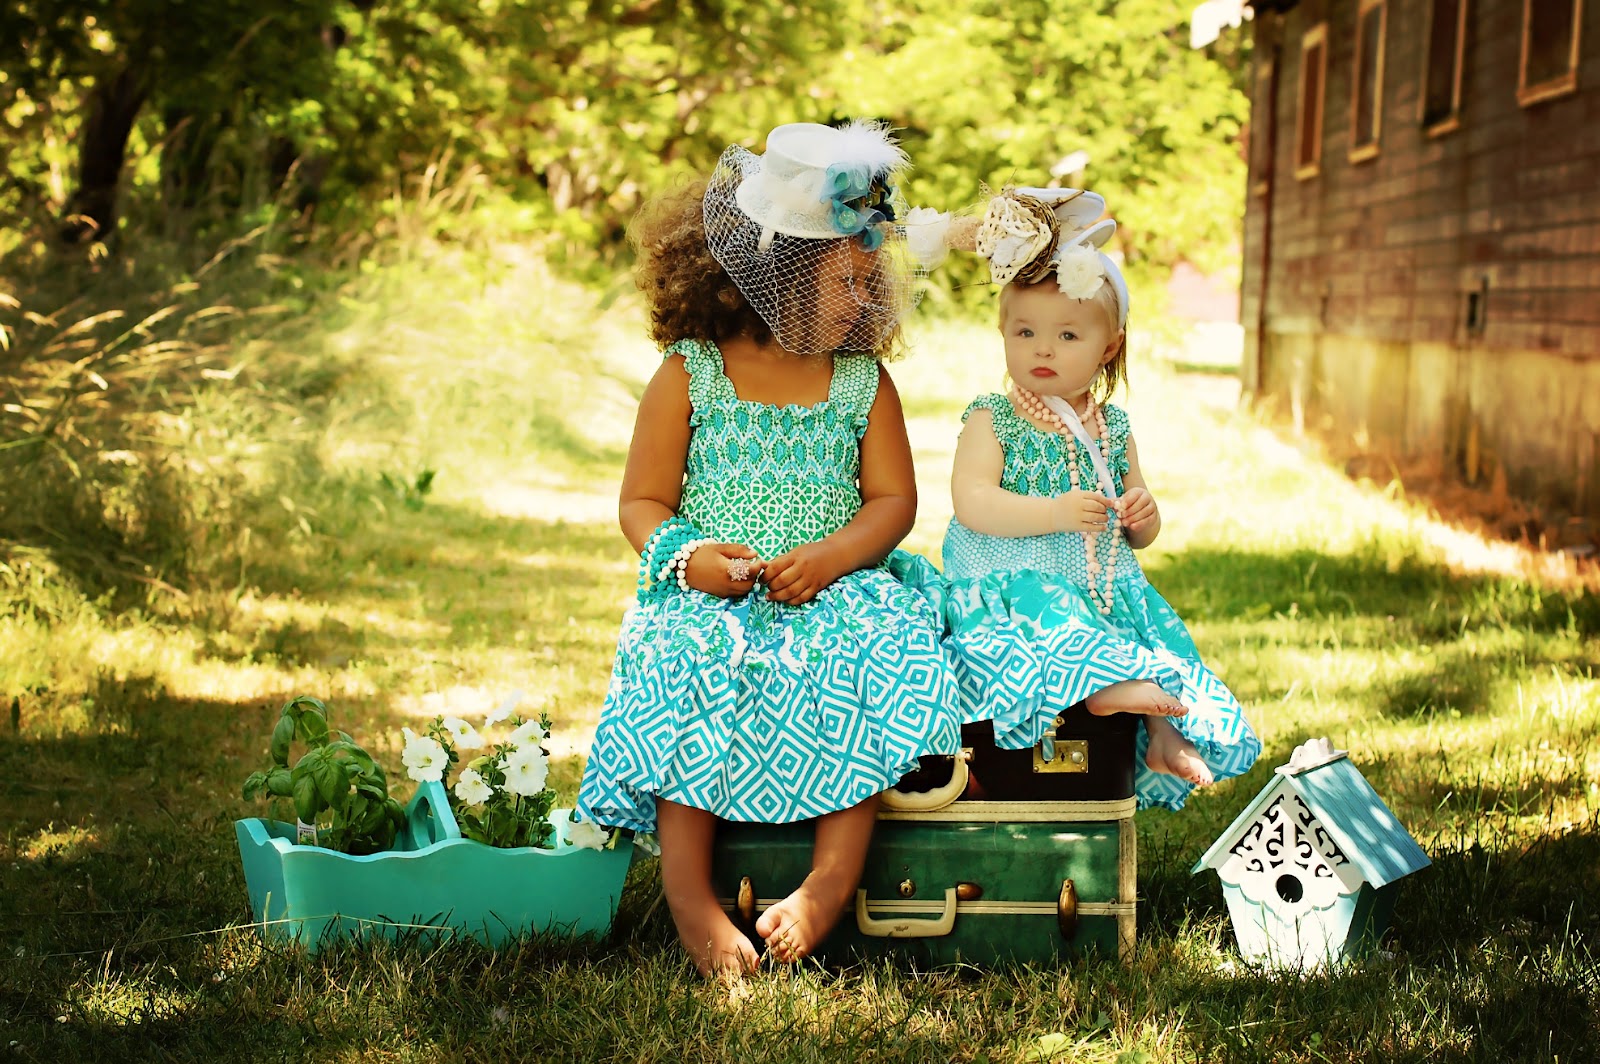
this blog post, I wanted to share how to make a simple fancy band hem. Shown is
my favorite dress from the July 2012 Issue of Sew Beautiful magazine page 58.

To
make this dress, you will find all of the instructions featured in the July issue
along with the Susie’s FREE smocking design. Susie’s unique construction method promises to impress. The
strap casings above the smocking are a clever use of the fabric fold (trust me,
you will just have to read it completely to appreciate it). To quickly sum it
up, she folded a block of fabric in
half on the cross grain and pleated across the top portion, leaving two layers
all the way to the hem; one layer serves as the outside of the dress and one
layer serves as the slip. She did this twice to make a front and a back. The
outer dress layer is embellished with an heirloom fancy band stacked with lace,
Swiss insertion, Swiss edging and 1-inch strips of printed cotton lawn. The
slip layer of fabric is embellished with a wide band of the same printed Cotton
lawn that hangs a bit lower than the fancy band.
We
actually do not share the instructions for making the fancy band in the
magazine, as this is a common practice among many of our readers. For our blog family, however, we
wanted to give you something a little extra.
STACKING
A FANCY BAND
This
particular fancy band is constructed from the bottom up and measures 6-1/2
inches to the seam. We recommend cutting each strip a little longer than the
skirt’s full circumference to allow for shrinkage from the machine stitching;
cut to fit once assembled. Each cotton print insertion strip is cut 1-1/2-inches
wide and on grain from selvage to selvage to equal two full bands around skirt
circumference; the strips finish 1-inch wide in band. One dress side seam is
sewn and one remains open, as it is easier to apply the full length of the
fancy band to the entire bottom edge of the skirt and then sew up the second
seam after the band is attached. The slip’s folded cotton print band is 7-inches
finished (cut 15 inches assuming 1/2 inch seam allowances).

• First, determine how long you want your band to be; this
is sometimes determined by the strips of goodies you want to stack together.
Sometimes you might work with a set length in mind, like 4 inches, and then
stack the right sized strips to add up to that predetermined length.
• When adding to a dress pattern that does not call for a
fancy band, you will need to remove the fancy band length from the length of
the dress. Then when you apply it, it will finish to the desired finished
length. Remember to leave a seam allowance on the skirt for attaching the band.
If you apply a band to an existing dress (to lengthen it and stretch it’s
wearable life), you may need to cut away some from the bottom of the skirt.
• Determine the circumference of the hem and cut all strips
a little longer just for good measure – It is better to trim off 2 inches than
to be 1/2 inch short. Fabric strips will have to be joined with a seam, but
laces can be purchased in adequate yardage.
MACHINE TECHNIQUES FOR JOINING STRIPS
Entredeux to Fabric
Use
this method to attach a strip of entredeux to the Swiss edging and printed
cotton strips. Our edging is 6-inches wide, so you will have to trim away 2-3/4
inches for it to come out to 3-inches finished (assuming a 1/4-inch seam
allowance). Place the entredeux to the trimmed edging and stitch in the ditch
of the “ladder.” Trim seam and roll and whip as directed here:
1. Do not trim entredeux. Place entredeux and fabric right
sides together, with raw edges even
2. With entredeux on top, use a straight stitch (L=2.0) to
stitch in the ditch right along “ladder” of entredeux.
 |
| Stitch in the ditch of the Swiss "ladder" |
3. Trim seam allowance to 1/8 inch. Roll and whip this seam
allowance by zigzagging (L=1.0; W=4.5) so that one needle swing goes into
fabric right along previous straight stitching, and other needle swing goes off
edge of fabric, rolling seam allowance.
 |
| HINT: I usually do this
roll-and-whip stitching with entredeux on bottom. |
4. Press rolled hem away from entredeux. Stitch a tiny
zigzag (L and W=1.0) from right side so that one needle swing goes into “ditch”
right next to “ladder” of entredeux, and other needle swing just catches fold
of fabric. Starch and press one more time.
Attach a printed cotton strip to the other fabric tape edge
of the entredeux using the same method. The Swiss insertion has its own
entredeux. Treat the same way to attach to floral bands. Finish the last raw
edge of the second cotton strip with a strip of entredeux.
Entredeux to lace
Use this method to attach the lace insertion to the
entredeux on the printed cotton strip.
First, trim the remaining fabric tape edge from the entredeux.
Butt lace edge to “ladder” edge of entredeux and zigzag as directed here.
1. Starch entredeux well, and press dry. This is important,
because it helps to pre-shrink entredeux. If this step is omitted, when the
piece with entredeux stitched into it is washed, entredeux will shrink and
pucker fabric.
2. Trim batiste edge off one side of entredeux right next to
heavily embroidered “ladder.” There should be no fabric remaining on that side;
entredeux will not ravel (photo 1).
 |
| Trim away one side of seam tape. |
3. With lace and entredeux both right sides up, butt trimmed
edge of entredeux to heading of lace insertion.
4. Zigzag (L=1.0; W=2.5 – 3.0) together so that one needle
swing stitches over heading of lace, and other needle swing goes into holes of
entredeux (photo 2).
 |
| Zigzag stitch shown in red thread. Use white on garment |
Add another strip of entredeux to the remaining edge of
lace, leaving fabric tape on other side of entredeux. You will use this tape to
attach the whole fancy band to the bottom of the dress using the entredeux to
fabric method above.
It’s that easy. Fancy that!