Monday, September 30, 2013

Sewing with Lace and Entredeux

Our special edition, Sew Beautiful's Favorite Heirloom Sewing Designs, is a collection of our most beautiful and inspirational articles, pictorials and free patterns. We poured over decades of magazines to bring you this "best of the best" publication, which also features a section full of tips and tricks for many frequently used heirloom sewing techniques. Below, we'd like to share tutorials for "Lace to Entredeux" and "Gathered Lace to Entredeux" - two techniques that you will see in almost every heirloom garment. Follow these steps from Sue Stewart for perfect results that any "heirloomist" would be proud of.


Keep the following points in mind as you work:
• The thread used is important. Regular polyester or cotton-covered polyester sewing thread is simply too stiff and heavy to give good results. Madeira Tanne 80, a very soft, fine thread, is good to use for embellishment. Mettler 60 is a slightly heavier thread that is also suitable, and a little easier for both you and your machine to work with; it should be used in both the needle and the bobbin. The thread should also match the color of the lace.

• A small needle to go with the fine thread is also important. For the following techniques, use a new size 70 universal needle and make sure your machine is clean, oiled and running smoothly.

• The stitch settings given are not absolutes. Different machines stitch out differently. Use the settings given as starting points, adjust up or down as needed and use what works best for you.

•  In many cases, heirloom techniques are used to create fabric blocks or fancy bands that are slightly larger than needed from which garment pieces or fancy bands are then cut or trimmed to size.


Lace to entredeux
Lace to entreduex:
1.  Starch entredeux well, and press dry. This is important, because it helps to pre-shrink entredeux. If this step is omitted, when the piece with entredeux stitched into it is washed, entredeux will shrink and pucker fabric.


Photo 1
2. Trim batiste edge off one side of entredeux right next to heavily embroidered "ladder." There should be no fabric remaining on that side; entredeux will not ravel (Photo 1).

3. With lace and entredeux both right sides up, butt trimmed edge of entredeux to heading of lace insertion.


Photo 2
4. Zigzag (L=1.0; W=2.5 - 3.0) together so that one needle swing stitches over heading of lace, and other needle swing goes into holes of entredeux (Photo 2).


Gathered lace to entredeux

Gathered lace to entredeux:
1. Trim waste fabric from one side of entredeux.

2. Gather lace to desired fullness to fit entredeux strip by pulling the uppermost thread in lace header. Pin strip of gathered lace to ironing board or padded surface right side up. Adjust gathers evenly. 

3. Cut a piece of Tiger Tape the length of gathered lace strip. Tape strips may also be cut in shorter lengths if you are curving the gathered lace or applying tape to a very long strip of lace. 

4. Stick Tiger Tape to gathered lace strip just below lace header (between 1/8 and 1/4 inch from the lace header edge). This will hold lace gathers in place as you stitch lace to entredeux. 

5. Set tension settings to normal balance. Place matching lightweight thread in bobbin and needle. Thread should match entredeux and lace. 


Photo 3
6. Set machine for a center zigzag (L-2.0-2.5; W=3.0-3.5). Remove lace from board and place trimmed edge of entredeux and gathered lace header side by side, right sides up with edges touching. Length should be adjusted so left swing of zigzag hits as many consecutive holes in entredeux as possible. Width should be adjusted so zigzag travels from hole of entredeux to inside edge of gathered lace edging and pulls lace header snuggly against entredeux (Photo 3).

Photo 4
7.  When gathered lace is attached, remove Tiger Tape (Photo 4).

Be sure to check out Favorite Heirloom Sewing Designs for more heirloom projects and techniques! Create your own work of art using the patterns we've provided or use this issue as the catalyst to revisit your heirloom pattern stash to find your favorites.

Sew On, Sew Well, Sew Beautiful,
Cyndi and Amelia

Tuesday, August 20, 2013

Sew a Pretty and Practical Pincushion

Round Pincushion

We all know it's true - you can never have too many pincushions. It's not unusual to have one by the sewing machine, one by the couch, one on your bedside table and one in your travel bag; we sewing fanatics are always in need of a place to stick loose pins. This round pincushion was designed by Jean Etheridge and can be created in any color scheme to match your personal style and surroundings.

You can always use fiber filling to stuff your pincushions, but personally, we prefer a more densely weighted cushion. As an alternative, try using crushed walnut shells or sand for stuffing. You can find crushed walnut shells as bird litter at your local pet store; it is also sold at some specialty sewing and quilt shops. If you do use crushed shells or sand, we recommend an inner lining be included in the construction to prevent the shells from possibly working their way through the outer pincushion cover.

Materials:
• Small amount of fabric for two 5-inch circles
• Two buttons (large-holed to fit the large needle)
• Pearl cotton (#5)
• Polyester fiberfill
• Doll sculpture needle
• Optional charm (We bought ours in a multipack from the jewelry section of our local craft store)

Instructions:
1. Cut two circles of fabric about 5 inches in diameter.

2. With right sides together, sew around the circle, leaving about a 2-inch opening for turning (fig. 1).


3. Turn the circle right side out. Stuff until quite firm.

4. Stitch 2-inch opening closed by hand.

5. To form pie-shaped wedges, cut a very long strand of pearl cotton and knot one end with a substantial knot. Using a long, sturdy needle (one meant for doll sculpture works well), start at the bottom of the pincushion and push the needle all the way through the center of the stuffed circle form. Then pull the thread from the top around the side and back to the center point on the bottom. Go back up through the middle, down the other side, and up through the same point. Pull the pearl cotton snugly each time (fig. 2).


6. Continue until you have six pie-shaped sections. Knot thread at bottom.

7. Use one long pearl cotton thread to sew the top and bottom button to the center of the pincushion using the long needle. Start at the bottom, go through the holes of the button, up through the pincushion and through one hole of the top button. Then sew down through the other hole of the top button and down through the hole of the bottom button (fig. 3). Repeat several times and then secure the thread on the bottom.


8. Attach a sewing charm to the top button or the center of the pincushion.


Sew On, Sew Well, Sew Beautiful,
Cyndi and Amelia

Monday, August 12, 2013

Make Your Own Trendy Placemat Purse

Toni added black beads to the contrast black stitching to give this tote a touch of sparkle.

Textile tote bags are always in style, and, with a little sewing innovation, they are very easy to make! The delightful tote pictured here was designed by Toni Duggar using a purchased placemat, purse handles, a zigzag stitch and some great trims. Follow the tutorial below to make your own tote to match an outfit, or just to whip up something whimsical with fun trims. Either way, you'll be the envy of all your friends who don't sew, or, better yet, use this tote as a great starter project to teach someone how to sew.

What you'll need:
• Purchased placemat
• Purchased purse handle
• 1 yard of 1-inch silk satin ribbon for handle ties
• Quilting thread to match placemat
• Universal Size 90 or 100 Jeans needle
• Beads, fringe, buttons and trims that you like (optional)
• Permanent fusible web tape, such as Steam-A-Seam II™ fusible web tape, for applying trims (optional)

Directions:
1. Adorn placemat with threads, beads or any embellishment you like. NOTE: If you plan to add fringe or beaded edging around the top, add this on the final step after construction is complete.

2. Stitch four 9-inch ribbon ties, or four 2-inch grosgrain ribbon loops to each end according to the width and style of your purchased handle (photo 1). 

Photo 1

3. Fold placemat in half and butt side edges together. Using quilting thread, secure with a zigzag stitch, stopping about 1-2 inches from bottom. Stitch a thread bar tack at top and bottom of zigzag (photo 2).

Photo 2

4. Turn purse inside out and stitch across each corner where zigzag stitching ends (this will give the bottom corners of the purse a squared or boxed finish) (photo 3).

Photo 3

5. Add top edging by stitching (use bobbin thread that will match inside of purse), or attach securely with fabric glue, or permanent fusible web tape (test your fringe with the iron first).

6. Place purse handles on purse.

Visit our online store to discover more purse patterns and other fun projects!

Sew On, Sew Well, Sew Beautiful,
Cyndi and Amelia

Tuesday, July 30, 2013

July Book Blog: Sew Serendipity Skirt Sew-Along - Part 4

Hello, everyone! Welcome to the finale Week 4 of our July Sew Serendipity Skirt Sew-Along. We have been making the "Tailored Skirt" from Kay Whitt's book Sew Serendipity, so if you're just joining me, catch up by first reading Part 1Part 2 and Part 3.


This week, all that was left was to finish up by adding the bottom hem on the skirt. It was super simple - a nice, relaxing time at the machine after 2 more intensive weeks of construction!


Again, I really love that I chose this golden yellow for my contrast stitching. It pops on top of the prints and really accents the seams. I am a little annoyed that my machine did some funky stitching on my very top line, but it's so minor you can't really tell - especially when worn.


Don't you love how a finished garment feels once all the details are in place? Here is my finished skirt pinned onto a mannequin - I had to draw it in quite a bit in the back to pin it, since the mannequin is skinny and I am, well, not. ;) I'll try to get a photo of myself in it soon and come back to update for you all.


I hope you had a great time sewing along with me! Be sure to share your finished skirts or adaptation ideas in the comments.

Monday, July 29, 2013

Royal Sewing for Your Little Prince or Princess

Our version of Prince William's Suit!

It's a boy! What fun it is to celebrate the birth of Prince George Alexander Louis. We watched in delight last week as Prince William and Kate Middleton introduced their royal bundle of joy to the world on the steps of St. Mary's Hospital in London. Of course, our thoughts immediately went to all the stitched finery little George will soon wear. 

As a child, Prince William was frequently photographed wearing English smocking. While watching William, Kate and George leaving St. Mary's last week, we were reminded of a photo that was taken of a young Prince William in 1984 on the same hospital steps. He had just visited the hospital to meet his new little brother Prince Harry for the first time, and he was wearing an adorable English smocked shirt with matching red shorts. 

Designer Laurie Anderson recreated William's precious suit for our new book, Sewing for a Royal Baby, and now seems like a fitting time to share the smocking graph with you! Check out the book for the complete guide to making Prince William's Suit, or smock the design on a garment of your choosing.


Royal diamond chevron smocking

Royal Diamond Chevron smocking graph
Design as shown was smocked with three strands of DMC #817 red six strand embroidery floss.

1. Pleat seven rows. Mark center pleat with a wash-away marking pen. Rows 1 and 7 are holding rows and will not be smocked. Block 102 pleats for each insert. (Refer to Royal Diamond Chevron smocking graph below.)

2. For the upper border, start at the center two pleats and cable across Row 1, beginning with an up cable. Invert your work and complete the other side of the cable row.

3. On Row 1 under the first down cable, work a three-cable combination starting with an up cable, step down to Row 1-1/2, and trellis stitch over just one pleat, down cable one. Step back up to Row 1 and over just one pleat beginning on the same pleat continue the pattern across the row. Smock carefully and remember to trellis up and down on the same pleat as the previous cable.

4. Start the bottom border at the center two pleats on Row 5 and work a mirror image of the upper border between Rows 5 and 5-1/2.

5. Between Rows 2 and 2-1/2 and Rows 3 and 3-1/2, work a half-step wave across the row, beginning with a down cable.

6. Mirror image a half-step wave between Rows 2-1/2 and 3 and 3-1/2 and 4.


Royal Diamond Chevron smocking graph

Be sure to check out Sewing for a Royal Baby for more royal sewing inspiration!

Sew On, Sew Well, Sew Beautiful,
Cyndi and Amelia

Thursday, July 25, 2013

Sew a Cute and Simple Tiered Doll Skirt

Tiered doll skirt from All Dolled Up by Joan Hinds

Do you know a little girl who loves dressing her favorite doll in new outfits? Make her day with this easy-to-construct tiered skirt for an 18-inch doll. Featured in Joan Hinds' fabulous doll clothes book All Dolled Up, this skirt combines coordinating cotton prints, rickrack trim and ruffles to create an adorable boutique look. And be sure to check out the book for instructions on making a matching tiered skirt for a little girl!

Before you begin, note that it's a good idea to scale down the size of fabric prints and notions when sewing doll clothes. Rickrack comes in a variety of sizes too; a smaller size should be used when making this skirt.

The skirt combines coordinating prints, rickrack trim and ruffles.

What you'll need:
• 2-1/4 × 18 inches cotton print fabric for the upper tier
• 2-1/4 × 26 inches coordinating cotton print fabric for the middle tier
• 3-1/4 × 32 inches coordinating cotton print fabric for the lower tier
• 2-1/4 yards rickrack, 1/2-inch-wide
• 10-1/2 inches elastic, 1/4-inch-wide

Constructing the skirt:
1. Press one long edge of the upper tier 1/4 inch to the wrong side. Press again 1/2 inch and stitch close to the pressed edge to make a casing (fig. 1). Set aside.

Figure 1

2. Serge or zigzag stitch one long edge of the lower tier and press 1/2 inch to the wrong side. Sew rickrack over the pressed edge (fig. 2).

Figure 2

3. Gather the top edge of the lower tier following the gathering instructions below and stitch it to one long edge of the middle tier with right sides together. Gather the other long edge of the middle tier following the gathering instructions below and stitch it to the bottom edge of the upper tier (fig. 3).

Figure 3

4. Sew rickrack over the upper/middle tier seam line and over the middle/lower tier seamline.

5. Thread the elastic through the casing and secure the ends (fig. 4).

Figure 4

6. With right sides together, sew the center back seam and press.

Gathering instructions:
• Place the fabric under the presser foot on the stitching line about a seam width away from the edge. Turn the wheel by hand to make one stitch. Pull up on the top thread and bring the bobbin thread to the top of the fabric. Pull both of the threads simultaneously to a length equal to the area to be gathered. Place the threads under the presser foot after giving them a gentle twist. 

• Now adjust your machine for a medium zigzag stitch with a length of about 3.0. Stitch over those threads just inside the seam allowance, making sure not to stitch over the twisted threads. Stop a seam width away from the edge. Pull on the twisted threads to gather the fabric. Since the threads were secured in the beginning, they will not come out. Secure the thread tails by wrapping them around a pin after the gathers are pulled to the correct size.

Ready to take on another project for an 18-inch doll? Check out the great selection of doll sewing books available in our online store! We also have even more ideas for sewing matching dresses for little girls and their 18-inch dolls in the newest issue of Sew Beautiful.

Sew On, Sew Well, Sew Beautiful,
Cyndi and Amelia

Tuesday, July 23, 2013

July Book Blog: Sew Serendipity Skirt Sew-Along - Part 3

Hello, everyone! Shannon again, back with Week 3 of our July Sew Serendipity Skirt Sew-Along. We are making the "Tailored Skirt" from Kay Whitt's book Sew Serendipity, so if you're just joining me, catch up by first reading Part 1 and Part 2.


When we left off last week, I had prepared my skirt panels, pockets and facings and was ready to stitch the skirt front and back together. Today, we'll complete steps 4 and 5 of the skirt construction - which seems simple enough, but this also includes referring to other parts of the book for "general construction" instructions on inserting the invisible zipper and adding the facings. Above, you can see where my front piece and two back pieces are all constructed, ready for my zipper!


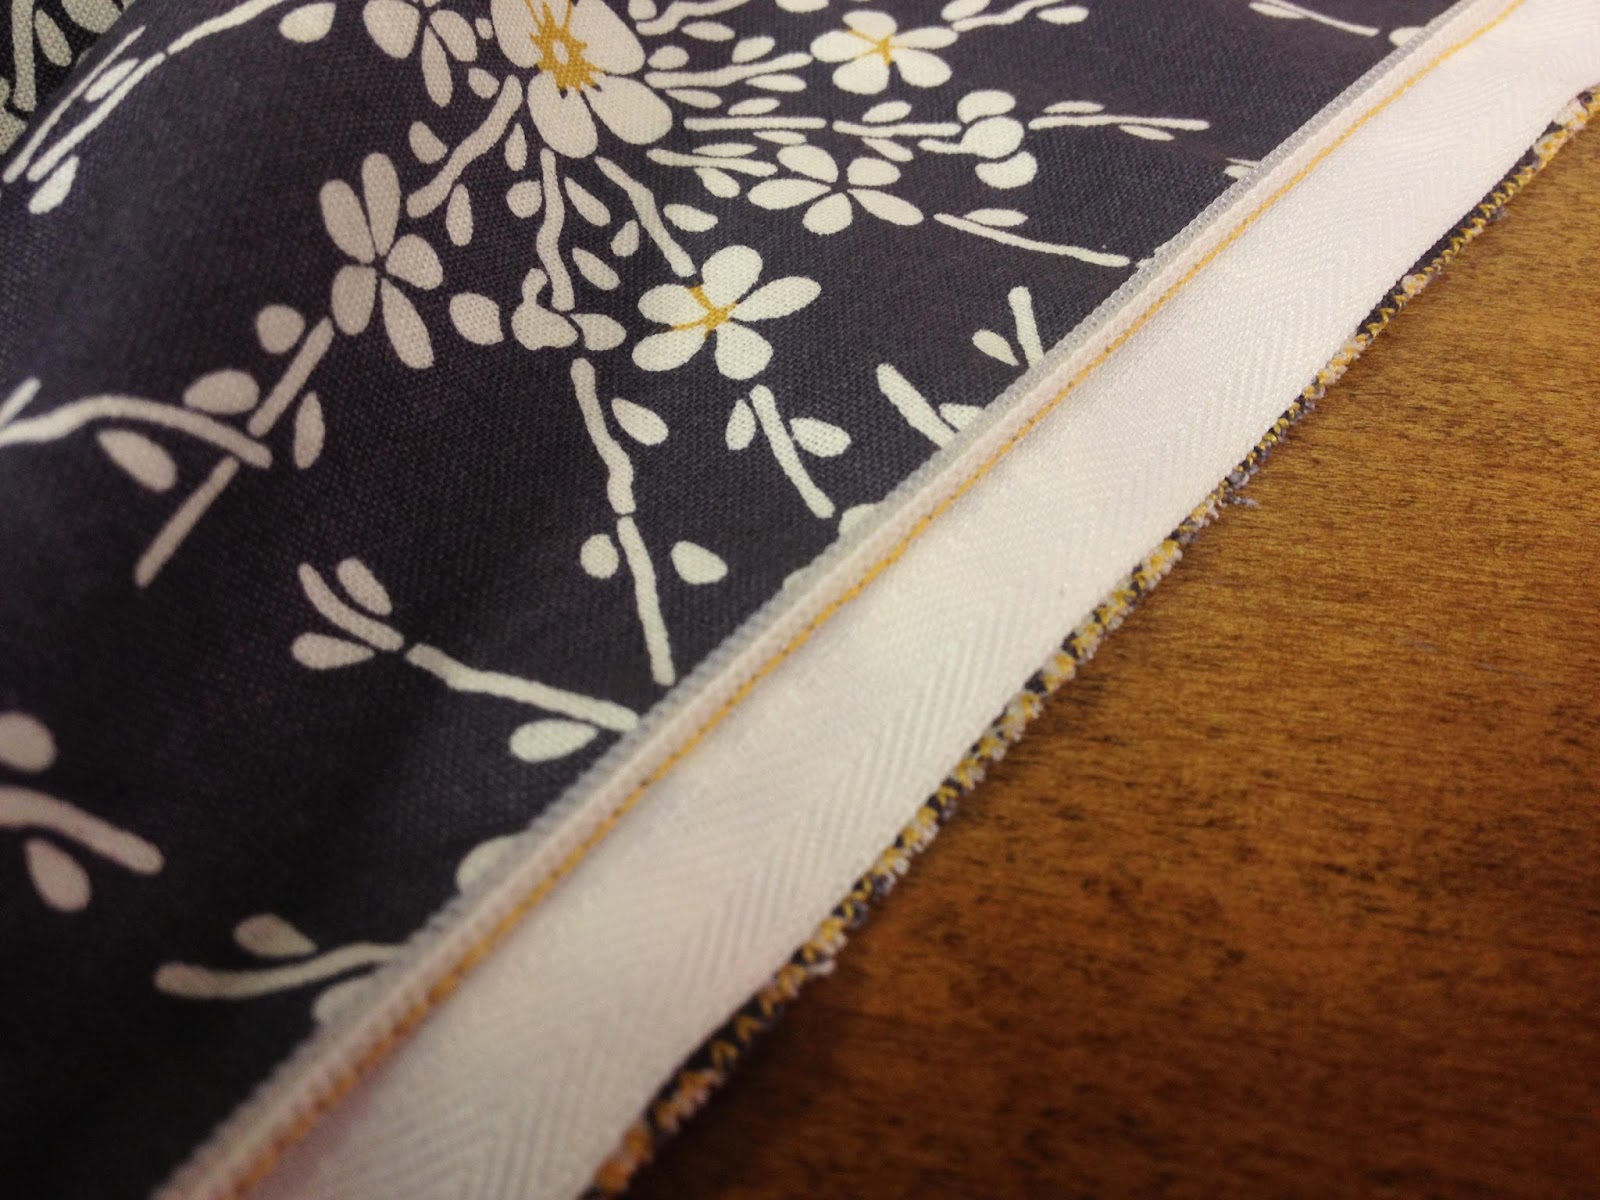
To be perfectly honest, I have never inserted an invisible zipper before - but it actually went very smoothly! The zipper foot on the Viking machine I'm using made it really simple.


Here I am proudly showing off how neatly my zipper went in. ;-) I really did surprise myself - and will definitely not be shying away from invisible zippers anymore!


Once I got the zipper in, it was quick to finish up the top hem by applying the facings, understitching and then top- and edgestitching.


And that's it for this week! Are you sewing along with me? I would love to see what you're creating. Be sure to share in the comments, and join me again next week for the fourth and final installment of our sew-along. I'll be completing the skirt with a hem band and showing off the finished product!