Showing posts with label Sew Along With Us. Show all posts

Tuesday, July 30, 2013

July Book Blog: Sew Serendipity Skirt Sew-Along - Part 4

Hello, everyone! Welcome to the finale Week 4 of our July Sew Serendipity Skirt Sew-Along. We have been making the "Tailored Skirt" from Kay Whitt's book Sew Serendipity, so if you're just joining me, catch up by first reading Part 1Part 2 and Part 3.


This week, all that was left was to finish up by adding the bottom hem on the skirt. It was super simple - a nice, relaxing time at the machine after 2 more intensive weeks of construction!


Again, I really love that I chose this golden yellow for my contrast stitching. It pops on top of the prints and really accents the seams. I am a little annoyed that my machine did some funky stitching on my very top line, but it's so minor you can't really tell - especially when worn.


Don't you love how a finished garment feels once all the details are in place? Here is my finished skirt pinned onto a mannequin - I had to draw it in quite a bit in the back to pin it, since the mannequin is skinny and I am, well, not. ;) I'll try to get a photo of myself in it soon and come back to update for you all.


I hope you had a great time sewing along with me! Be sure to share your finished skirts or adaptation ideas in the comments.

Tuesday, July 23, 2013

July Book Blog: Sew Serendipity Skirt Sew-Along - Part 3

Hello, everyone! Shannon again, back with Week 3 of our July Sew Serendipity Skirt Sew-Along. We are making the "Tailored Skirt" from Kay Whitt's book Sew Serendipity, so if you're just joining me, catch up by first reading Part 1 and Part 2.


When we left off last week, I had prepared my skirt panels, pockets and facings and was ready to stitch the skirt front and back together. Today, we'll complete steps 4 and 5 of the skirt construction - which seems simple enough, but this also includes referring to other parts of the book for "general construction" instructions on inserting the invisible zipper and adding the facings. Above, you can see where my front piece and two back pieces are all constructed, ready for my zipper!


To be perfectly honest, I have never inserted an invisible zipper before - but it actually went very smoothly! The zipper foot on the Viking machine I'm using made it really simple.


Here I am proudly showing off how neatly my zipper went in. ;-) I really did surprise myself - and will definitely not be shying away from invisible zippers anymore!


Once I got the zipper in, it was quick to finish up the top hem by applying the facings, understitching and then top- and edgestitching.


And that's it for this week! Are you sewing along with me? I would love to see what you're creating. Be sure to share in the comments, and join me again next week for the fourth and final installment of our sew-along. I'll be completing the skirt with a hem band and showing off the finished product!

Tuesday, July 16, 2013

July Book Blog: Sew Serendipity Skirt Sew-Along - Part 2

Hello, everyone! Shannon here, and I'm back with Week 2 of our July Sew Serendipity Skirt Sew-Along. We are making the "Tailored Skirt" from Kay Whitt's book Sew Serendipity, so if you're just joining me, catch up by first reading last week's post.

This week, now that our supplies are gathered, we're following the layout/cutting and construction instructions on page 42, down through step 4. Generally, I highly recommend tracing off your pattern pieces onto tracing paper so your tissue remains uncut for future use - but in the interest of time (and because I'm making the largest size), I skipped that this time and just used the tissue.


I've got to say, I love that Sew Serendipity is a spiral-bound hardback, so it lays flat; and how convenient is the big pocket in the back for storing your tissue?


I am also loving how few pattern pieces this skirt takes. I like to use a temporary fabric spray adhesive instead of pins (such as Sulky KK2000) when tracing and/or cutting my fabric pattern pieces. I also really like to use a rotary cutter and straight edge anywhere there are long, straight edges on pattern pieces - and on this skirt, that was most of them! So, cutting went very quickly this time around - which is great news to me, because tedious cutting is my least favorite part of sewing.


Moving onto construction! After completing the waistband facing and preparation of folded contrast strips, I had a lot of fun with the pockets. The instructions tell you to do several lines of top- and edge-stitching along the top seam where the contrast hem is, and I chose a golden yellow thread to match the flower details in my main print. I am in love with how they look!


Contrast stitching also goes down along the vertical seamlines of the skirt. This is a time where I really appreciate having different machine feet to which I can turn. I have been using the sewing room at our office, where I like to use a Viking machine, and the feet easily pop in and out of a little grip. (In my home craft room, I have a Bernina - and the feet are equally as easy to snap in and out, using a little lever.) We contemporary sewers are so lucky for little conveniences like these! In these few steps along, I've been switching out between a regular foot, a 1/4-inch foot and a center guide blade foot. Of course, you can sew with a regular foot only - but being able to rely on these different feet reassures me that my sewing is more accurate than it would be otherwise. 


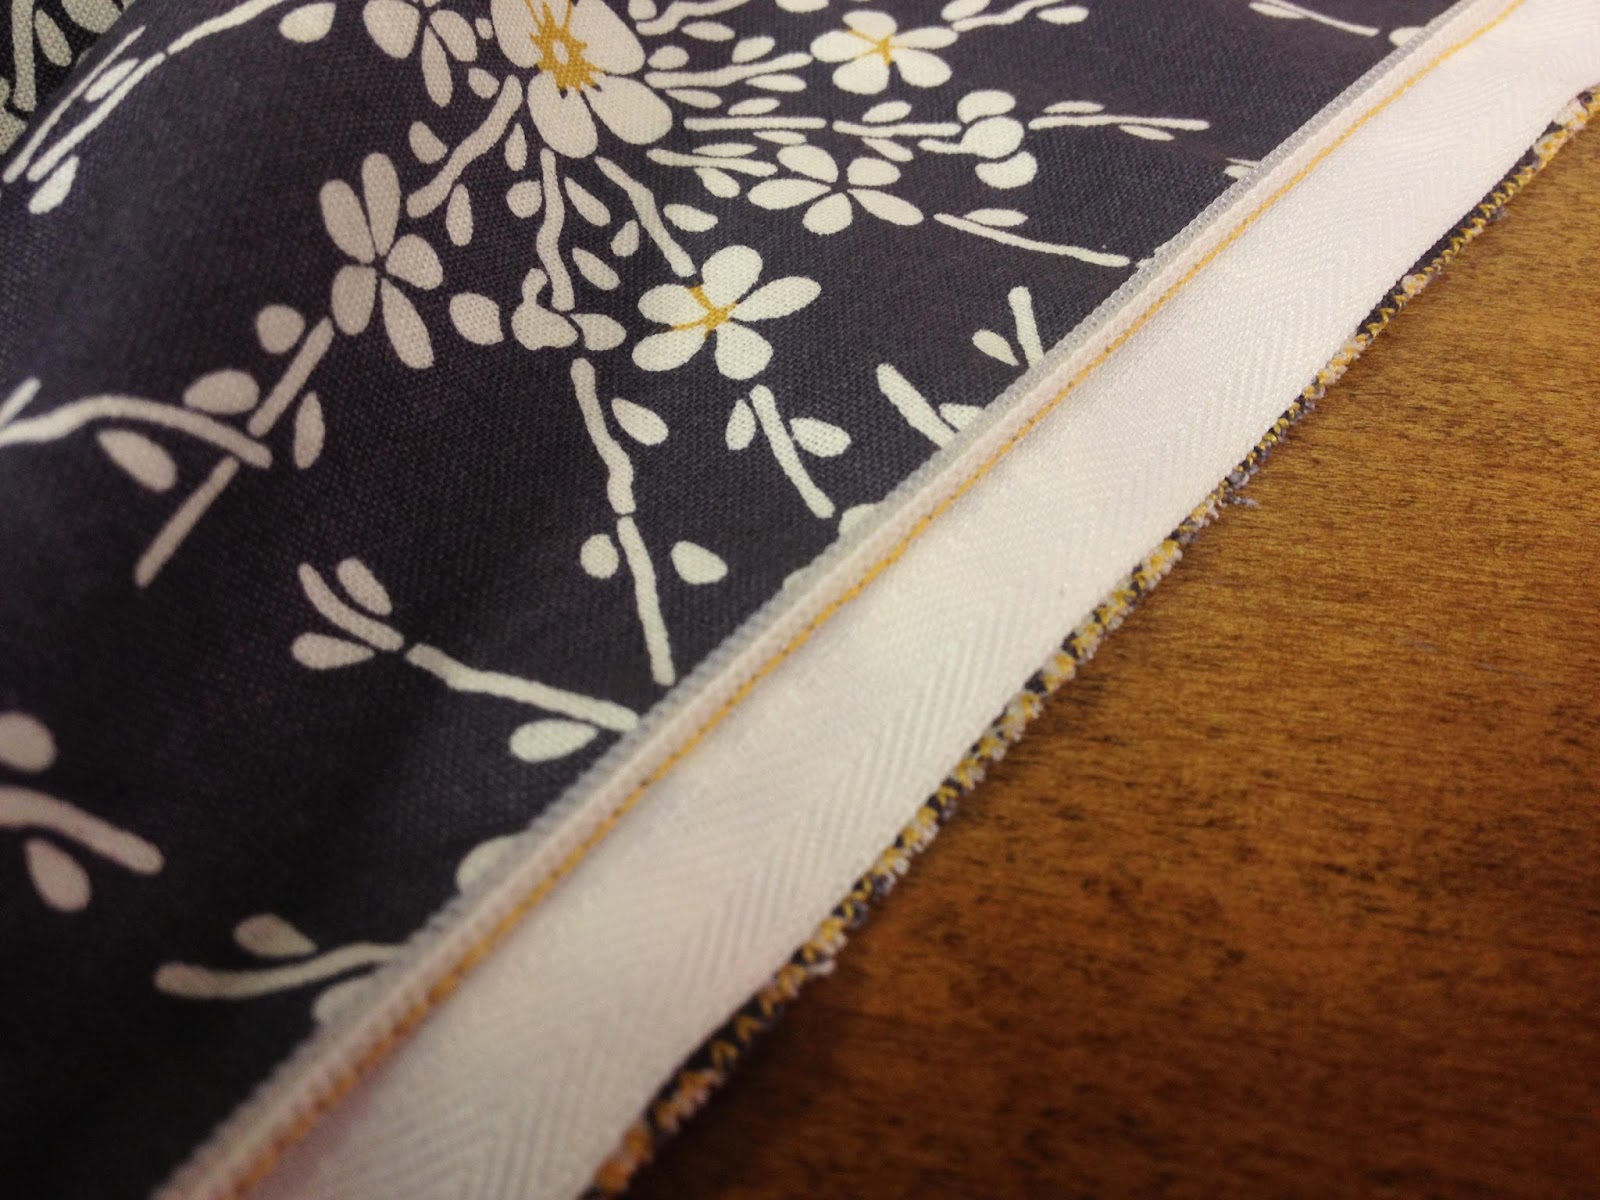
So, here I am with all of my skirt panels prepared and ready to be stitched together. This has been the most work-intensive of all weeks, and is where you should be at the end of construction step 4. Next week will be much lighter, as we continue with construction of the skirt, adding the zipper and and attaching the waistband facings (steps 5 and 6).


Are you sewing along with me? Be sure to share how your project is coming along in the comments! 

Happy Sewing,
Shannon

Tuesday, July 9, 2013

July Book Blog: Sew Serendipity Skirt Sew-Along!


Hello, sewing friends! Shannon here, and welcome to our July book blog on Sew Serendipity: Fresh + Pretty Designs to Make and Wear by Kay Whitt. I have been wanting to make something from this book since it first came out, but it just hasn't happened yet; so, join me in a sew-along over the next few weeks as we make a Tailored Skirt (below)!


With the ease of all of Kay's patterns, this is a great project for beginners -  not to mention a perfect summertime skirt to spruce up your wardrobe for the last few hot months ahead. So gather a copy of Sew Serendipity and all of your materials, and let's get started.


Before we start, you'll definitely want to take your measurements (Kay provides great guidelines for this in the front matter of Sew Serendipity) so that you know what size to make. I also highly recommend pre-washing your fabrics. If you want, you can make a muslin to practice the techniques and adjust the fit to your liking - but I'll be skipping this step.


I have selected a couple coordinating fabrics from Anna Griffin's gorgeous Honoka line. I've been dying to use the lacy Japanese Blossom print, and this will be the perfect project to showcase it. For now, trace off your pattern pieces and cut everything out.

Next Tuesday, on July 16, we'll dig into construction by preparing the waistline facings, creating the pockets and stitching the skirt panels together (steps 1-4). On July 23, we will finish piecing the skirt body and add the zipper. Then on July 30, we'll wrap things up by finishing off the hem band.

I can't wait to get sewing with you. Please be sure to share your progress in the comments as we go along, and join me for the next three Tuesdays to see how my own skirt is coming together!

Shannon Miller
Senior Editor, Sew Beautiful

Wednesday, January 16, 2013

Sew along with us!


As promised in this New Year, Sew Beautiful will be encouraging you to sew along with us, selecting one chapter each month from 12 different books. Our goal is not only to keep you stitching, but to introduce you to a variety of different ways to use your talents. 

So it’s month one, January, and I’ve selected the book Doll Fashion Studio by Joan Hinds. If you have a little one who loves her 18-inch doll, this is a brand new book and a terrific find. At $24.99 the entire book with a collection of full-size patterns costs less than you’d probably pay for one pre-made outfit in a doll catalog. 

Since my little niece Ellie just got an 18-inch doll for Christmas, I thought I’d surprise her with a little dress and use up some of my lace and fabric scraps at the same time. I’ve selected the “Sunny Day Dress” for my pattern. It only requires two pattern pieces and ½ yard of fabric. In the book, Joan made it up in a floral print with rickrack trim, but I’m taking an heirloom approach. I’m planning to join sections of colored lace edging for one side of the top and thinking about machine embroidering a design on the other side. We’ll see how it develops. 

I’ve included the book cover here. So you’ll have time to get a copy of the book, I won’t start sewing until my blog entry next week. So check back, and we’ll whip up this sweet little doll dress together.

Amelia